DIY Golf Simulator: Build Your Own Budget Setup
By Divotloft . 10 min read . Updated September 2026
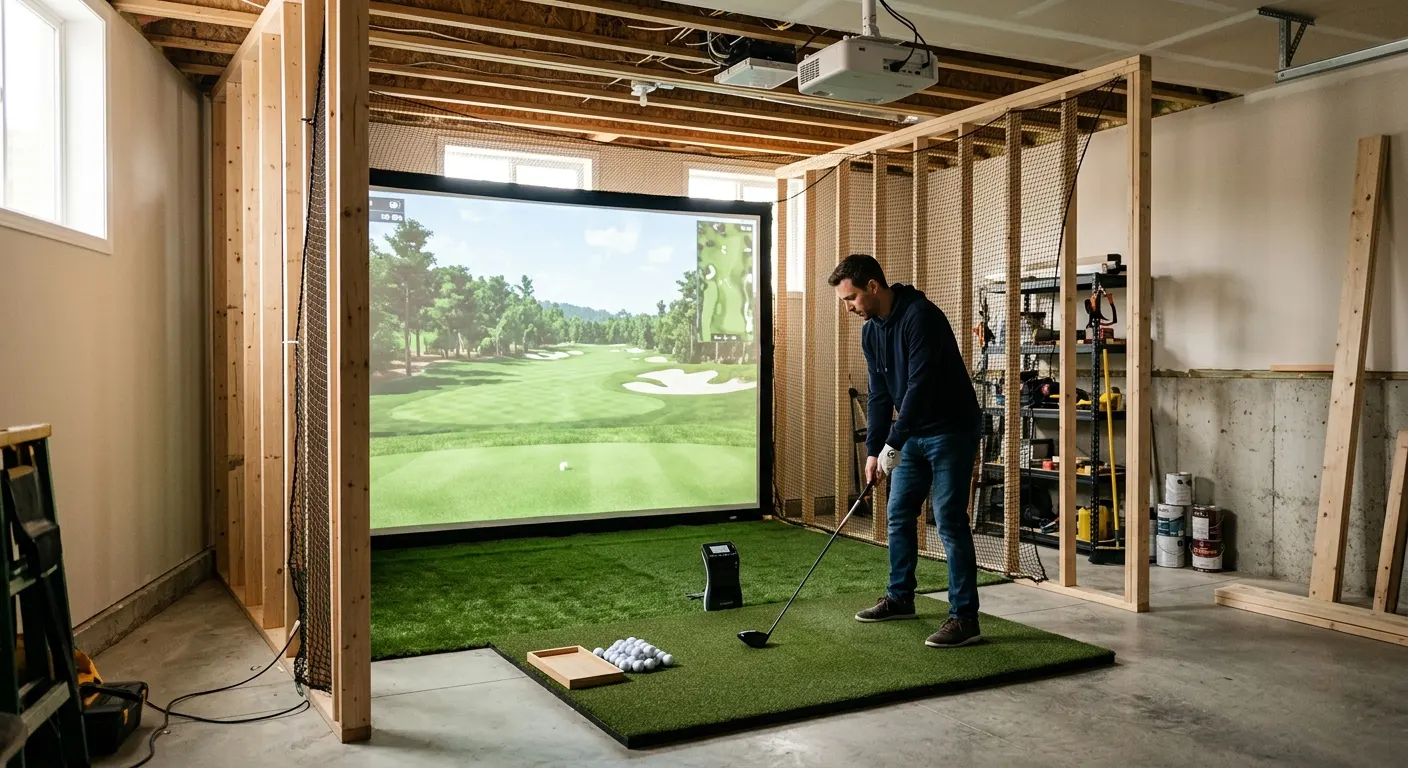
A DIY golf simulator build means sourcing each component yourself, a custom-sized screen, your own frame, a separate ceiling mount, rather than buying a single pre-assembled kit. It takes more planning than ordering a complete enclosure in one box, but it lets you fit odd room dimensions and control cost at every step. This guide walks through the DIY path piece by piece, starting with the Garmin Approach R10 Launch Monitor launch monitor and building out to a custom Carl's Place Premium Golf Impact Screen on your own frame.
Quick answer
A DIY golf simulator build sources each component separately rather than buying a complete kit: a Garmin Approach R10 launch monitor, a custom-sized Carl's Place impact screen on your own frame, a rail-mounted ceiling projector, a hitting mat, and foam floor tiles to level the room. Total cost runs $2,500 to $4,000 depending on projector and screen size.
This guide contains affiliate links. Divotloft may earn a commission at no cost to you.
Why build a DIY setup instead of buying a complete kit?
A complete kit like the The Indoor Golf Shop SIG10 Enclosure gives you a frame, screen, and netting sized to fit each other, but that convenience comes at a fixed width and a fixed price. The DIY path swaps that convenience for control: you choose the exact screen size, source your own frame, and can often land at a lower total cost if your room does not match a stock enclosure width.
The trade-off is time and assembly effort. A complete kit like the SIG10 assembles in one to two hours because every part is pre-matched. A DIY build with a custom Carl's Place Premium Golf Impact Screen and a sourced frame takes longer to plan and assemble, but it is the only realistic route in rooms narrower than 8 feet or with unusual ceiling obstructions that a stock kit cannot work around.
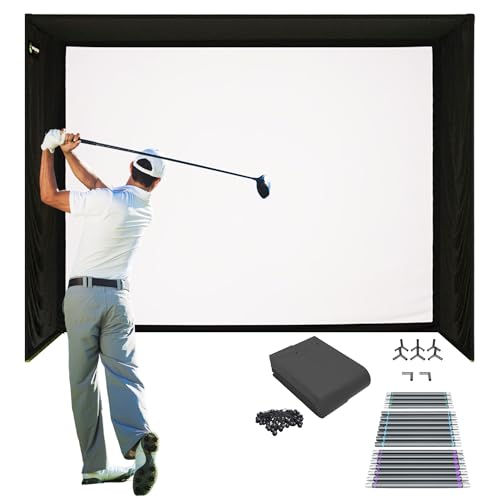
The Indoor Golf Shop SIG10 Enclosure
A complete tool-free enclosure kit in a single box with an 11-foot-wide aluminum frame, SIGPRO impact screen, side barrier netting, and weighted anchors, consistently ranked the best all-in-one enclosure for home builds in 2026.

Carl's Place Premium Golf Impact Screen
A custom-spec woven polyester impact screen available in sizes down to the inch, designed to hang in an existing frame or custom enclosure build, with a bright projection surface and rated for repeated high-speed ball impacts.
Which launch monitor fits a DIY budget build?
The Garmin Approach R10 Launch Monitor at around $500 is the standard DIY starting point because it carries no mandatory subscription for basic simulator use and pairs officially with GSPro and E6 Connect. Its radar-only design estimates spin rather than measuring it directly, which is the trade-off for the price and simplicity.
If directly measured spin data matters to your practice, the Rapsodo MLM2PRO Mobile Launch Monitor at roughly $699 to $749 uses a dual camera and radar hybrid to read spin from impact images rather than estimating it, and still requires no subscription for basic metrics. For a strict DIY budget, start with the R10 and treat the MLM2PRO as the first upgrade.
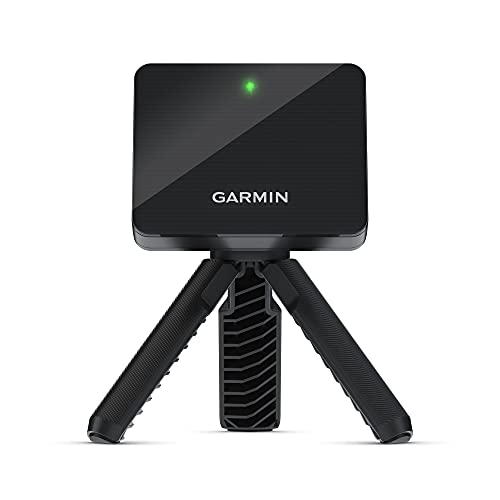
Garmin Approach R10 Launch Monitor
A pocket-sized radar launch monitor priced around $500 with zero mandatory subscription and compatibility with E6 Connect, GSPro, and over 42,000 Home Tee Hero virtual courses via the Garmin Golf app.

Rapsodo MLM2PRO Mobile Launch Monitor
A dual camera and Doppler radar hybrid that delivers directly measured spin, club path, and face angle data at under $700, the most complete affordable launch monitor for home simulator use in 2026.
How do you build a custom screen and enclosure yourself?
The Carl's Place Premium Golf Impact Screen ships in custom sizes down to the inch, which is the core piece that makes a DIY build possible in a room a stock kit cannot fit. You supply the frame, whether that is a wood header and side posts you build yourself or an existing structure the screen hangs across, and the tight-woven polyester surface holds tension well once anchored.
Side containment is not optional. Add Golf Simulator Side Barrier Safety Netting panels on both sides of your custom screen before the first swing, since a DIY frame does not come with the integrated netting a complete kit includes. A ball that misses a custom screen without side barriers hits whatever is next to it, a wall, a window, or equipment.
Carl's Place Premium Golf Impact Screen
A custom-spec woven polyester impact screen available in sizes down to the inch, designed to hang in an existing frame or custom enclosure build, with a bright projection surface and rated for repeated high-speed ball impacts.

Golf Simulator Side Barrier Safety Netting
Standalone side barrier panels that mount beside an impact screen or enclosure to catch wide pulls and pushes that miss the main screen surface, an important safety addition for any custom enclosure build.
How do you mount and place the projector in a DIY build?
A DIY build benefits the most from an adjustable mount, since a custom-sized screen means your throw ratio math will not match a stock kit's pre-calculated distance. The AllSportSystems SkyRail Sliding Projector Ceiling Mount uses a 48-inch sliding rail so you can position the projector correctly after measuring your actual custom screen width, rather than guessing before the screen arrives.
Choose the projector after the screen size is locked in, not before. The Optoma GT2100HDR Short Throw Projector at under $1,200 covers most DIY rooms with its 0.496:1 throw ratio, filling a screen up to 12 feet wide from under 6 feet of throw distance, which suits the tighter rooms a DIY build is often solving for in the first place.

AllSportSystems SkyRail Sliding Projector Ceiling Mount
A sliding ceiling-mounted projector arm with a 48-inch rail that lets you shift the projector fore and aft to dial in screen fill for both 4:3 and 16:9 formats without unscrewing the mount from the ceiling.

Optoma GT2100HDR Short Throw Projector
A proven ultra short throw 1080p projector with a 0.496:1 throw ratio priced under $1,200, the go-to budget option for tight simulator rooms where the projector must sit close to the screen.
What flooring finishes a DIY sim room?
Bare concrete under a DIY build is fatiguing over long sessions and leaves the hitting mat sitting proud of the surrounding floor. SimTurf Foam Floor Tiles for Golf Simulator Rooms at 5/8-inch thickness are cut to fit around the mat footprint so the mat surface sits flush with the stance area, finishing the room without hiring anyone.
On a concrete slab, add a Rubber Gym Mat Floor Underlayment for Simulators beneath the foam tiles first to absorb shock and block moisture from wicking up into the room. Pair the finished floor with a Real Feel Country Club Elite Golf Mat that accepts real wooden tees, so the whole DIY build, screen, mount, floor, and mat, comes together as one consistent room rather than mismatched parts.
SimTurf Foam Floor Tiles for Golf Simulator Rooms
Purpose-built 5/8-inch interlocking foam tiles designed to pair with SimTurf putting surface and hitting mats at a matching 1-inch total height, so the hitting mat drops in flush with the surrounding studio floor.

Rubber Gym Mat Floor Underlayment for Simulators
A 3/8-inch dense rubber mat roll or tile underlayment that goes beneath foam tiles on concrete floors to absorb shock, prevent moisture migration, and add meaningful sound deadening to a garage or basement sim room.

Real Feel Country Club Elite Golf Mat
A 110-ounce dense nylon mat on a 5/8-inch closed-cell foam base that accepts real wooden tees, cushions joints on fat shots, and pairs well with photometric launch monitors that read the lie at impact.
Featured in this guide
Garmin Approach R10 Launch Monitor
A pocket-sized radar launch monitor priced around $500 with zero mandatory subscription and compatibility with E6 Connect, GSPro, and over 42,000 Home Tee Hero virtual courses via the Garmin Golf app.
Carl's Place Premium Golf Impact Screen
A custom-spec woven polyester impact screen available in sizes down to the inch, designed to hang in an existing frame or custom enclosure build, with a bright projection surface and rated for repeated high-speed ball impacts.
Golf Simulator Side Barrier Safety Netting
Standalone side barrier panels that mount beside an impact screen or enclosure to catch wide pulls and pushes that miss the main screen surface, an important safety addition for any custom enclosure build.
AllSportSystems SkyRail Sliding Projector Ceiling Mount
A sliding ceiling-mounted projector arm with a 48-inch rail that lets you shift the projector fore and aft to dial in screen fill for both 4:3 and 16:9 formats without unscrewing the mount from the ceiling.
SimTurf Foam Floor Tiles for Golf Simulator Rooms
Purpose-built 5/8-inch interlocking foam tiles designed to pair with SimTurf putting surface and hitting mats at a matching 1-inch total height, so the hitting mat drops in flush with the surrounding studio floor.
Keep reading
Related comparisons
Related roundups
FAQ
Frequently asked questions
Is it cheaper to DIY a golf simulator than buy a complete kit?+
It depends on your room. If your space matches a stock enclosure width like the SIG8 or SIG10, a complete kit is usually similar in cost and far less work. If your room is narrower, deeper, or has ceiling obstructions a stock kit cannot handle, a DIY build with a custom-sized Carl's Place screen can be the only route that fits, and sometimes the cheaper one.
What do I need to build a golf simulator screen myself?+
You need a custom-sized impact screen, a frame to hang it from, either built or sourced separately, and side barrier netting for containment. Carl's Place ships screens sized to the inch, which is the piece a DIY builder cannot easily replicate at home, while the frame and netting can be built or bought as standalone parts.
How much does a DIY golf simulator cost compared to a kit?+
A DIY build using a Garmin R10, a custom Carl's Place screen with side barriers, a rail-mounted Optoma GT2100HDR, a hitting mat, and floor tiles typically lands between $2,500 and $4,000 depending on screen size. A complete SIG8 or SIG10 kit build with similar components runs a comparable range, so the DIY route mainly pays off through room-fit flexibility rather than guaranteed savings.
Can I use a launch monitor from a DIY build with GSPro?+
Yes. The Garmin Approach R10 and Rapsodo MLM2PRO, the two most common DIY-build launch monitors, are both officially supported by GSPro and E6 Connect. Software compatibility is not affected by whether your screen and enclosure are a DIY build or a complete kit.
Do I still need side barrier netting if I build my own screen?+
Yes, and it is easy to forget since complete kits include it automatically. A DIY frame with only a screen and no side containment leaves wide misses free to hit a wall, window, or nearby equipment. Add standalone side barrier panels on both sides of the screen before the setup is used.